
How to Create a Safe, Level Backyard Soccer Field: Step-by-Step Guide
6 min read
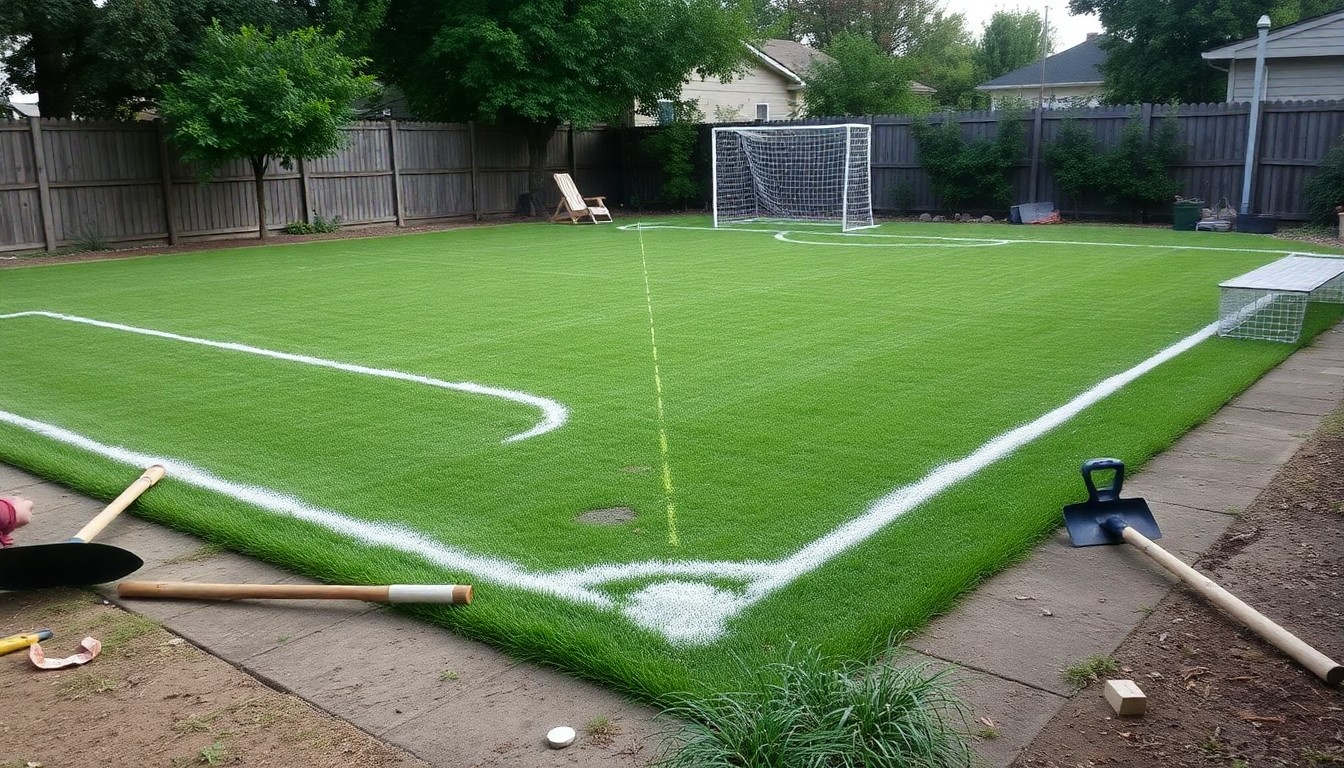
Creating a safe, level soccer field in your backyard is a rewarding project that transforms a simple lawn into a great playing space. With a bit of patience and some hard work, you can get the job done without any specialized equipment. This guide will walk you through the process, from initial assessment to final preparation, focusing on making the ground flat and safe from potholes.
Phase 1: Assess and Clear the Area
Before you can start leveling the ground, you need to prepare your canvas. This is the foundation of your entire project.
-
Walk the Field and Identify Problem Areas:
- Take a slow walk across the entire area you plan to use. Don't just look; feel the ground with your feet.
- Identify any major bumps, dips, or sloped areas. Use small flags, stakes, or even sticks with a piece of cloth tied to them to mark these spots. This visual map will be your guide later.
- Look for existing hazards like large rocks, exposed tree roots, or old metal objects.
- Note any areas with different types of grass or weeds, as these can indicate soil and drainage issues.
-
Clear the Debris:
- Remove all loose debris from the field, including rocks, branches, leaves, and trash.
- For a large yard, a leaf blower can speed things up, but a good old-fashioned rake works just as well.
- Pay special attention to the edges of the field, where debris tends to accumulate.
-
Prepare the Vegetation:
- Mow the entire area to a uniform, low height. This makes it much easier to see the ground's surface and spot any unevenness.
- If you have thick patches of weeds, you might need to use a shovel or a hand tiller to remove them by the root.
Phase 2: Leveling the Ground
This is the most critical and labor-intensive part of the process. Your goal is to fill in the low spots and bring down the high spots to create a reasonably uniform surface.
-
Fill Potholes and Depressions:
- For small depressions, a simple topsoil mix is perfect. You can buy bags of topsoil at any home improvement or garden store.
- Use a shovel to fill the hole, adding the soil a little at a time. The trick is to slightly overfill the hole, as the soil will settle over time.
- Use the back of your shovel or a firm piece of wood to tamp down the soil. This compacts the new soil, helping to prevent it from washing away after the first rain.
- For larger or deeper holes, consider adding a layer of sand or gravel at the bottom for drainage, then covering it with topsoil.
-
Address Bumps and High Spots:
- For small bumps, the easiest method is to use a shovel to shave them down. Work slowly and be careful not to create a new hole.
- For larger high spots, a simple but effective method is to use a spade or a flat-bladed shovel to cut into the sod in a checkerboard pattern.
- Carefully peel back the sod squares and dig out the excess soil underneath. Move this soil to a low-lying area.
- Once the ground is level, place the sod squares back in their original spots. This is like solving a puzzle, but it saves you the work of having to reseed the entire area.
-
The DIY Dragging Method:
- This technique is perfect for the basic person with no specialized equipment. Find an old wooden pallet and attach a rope to the front of it.
- Place some heavy objects, like cinder blocks or bags of sand, on top of the pallet for weight.
- Drag the pallet slowly across your field. The pallet's uneven bottom will help spread loose soil, filling minor low spots and shaving down small bumps.
- Drag the pallet multiple times, changing your direction (e.g., north-south, then east-west) to get a truly even surface.
Phase 3: Dealing with Pests and Obstacles
Your backyard is a natural environment, and you'll likely encounter a few challenges along the way.
-
The Gopher Problem:
- Gophers can be a major issue, creating mounds and tunnels that are a serious tripping hazard.
- As soon as you find a gopher mound, dig it out. You'll need to dig until you find the main burrow entrance.
- Fill the tunnels with soil and tamp it down firmly to prevent the gopher from simply pushing the soil back out.
- Natural deterrents can be effective. Gophers dislike the smell of castor oil, so you can mix it with water and pour it down the holes. Planting things they don't like, such as gopher purge or lavender, around the field's perimeter can also help.
-
Exposed Tree Roots:
- You can't easily remove a large, living tree root without specialized equipment. The best solution is to cover it.
- Build up the ground around the root with soil, packing it down firmly. You'll need to do this a few times as the soil settles.
- Placing a visible flag near the root is a good way to remind players to be careful until the area is fully level.
Phase 4: Final Touches and Maintenance
With the field level and safe, it's time to get it ready for play and keep it that way.
-
Rake and Seed:
- After all your leveling work, use a rake to smooth out any last imperfections. Now is the best time to rake in some grass seed.
- Choose a durable, fast-growing grass seed that is right for your climate. A handheld spreader is an inexpensive tool that will help you distribute the seed evenly.
-
Watering:
- Water the field consistently, especially in areas where you added new soil or seed. You want the soil to be moist, but not waterlogged. This helps the new grass grow and allows the new soil to settle naturally.
-
Regular Mowing and Inspection:
- Once the new grass is established, mow it regularly, keeping it at a moderate height.
- Before each game, take a quick walk across the field. Look for any new gopher mounds, weeds, or areas that are settling unevenly.
- Addressing these small problems as they pop up will prevent them from becoming major projects down the line.
BackyardPremierLeague.com is your source for official BPL content. Elevate your sense of play. Your pitch. Your glory.

Comments